

Preparing artwork for packaging
Good packaging starts with artwork that is set up correctly before it reaches print and finishing. This guide covers the main checks for cartons, labels and point of sale packaging so production can move without avoidable delays.
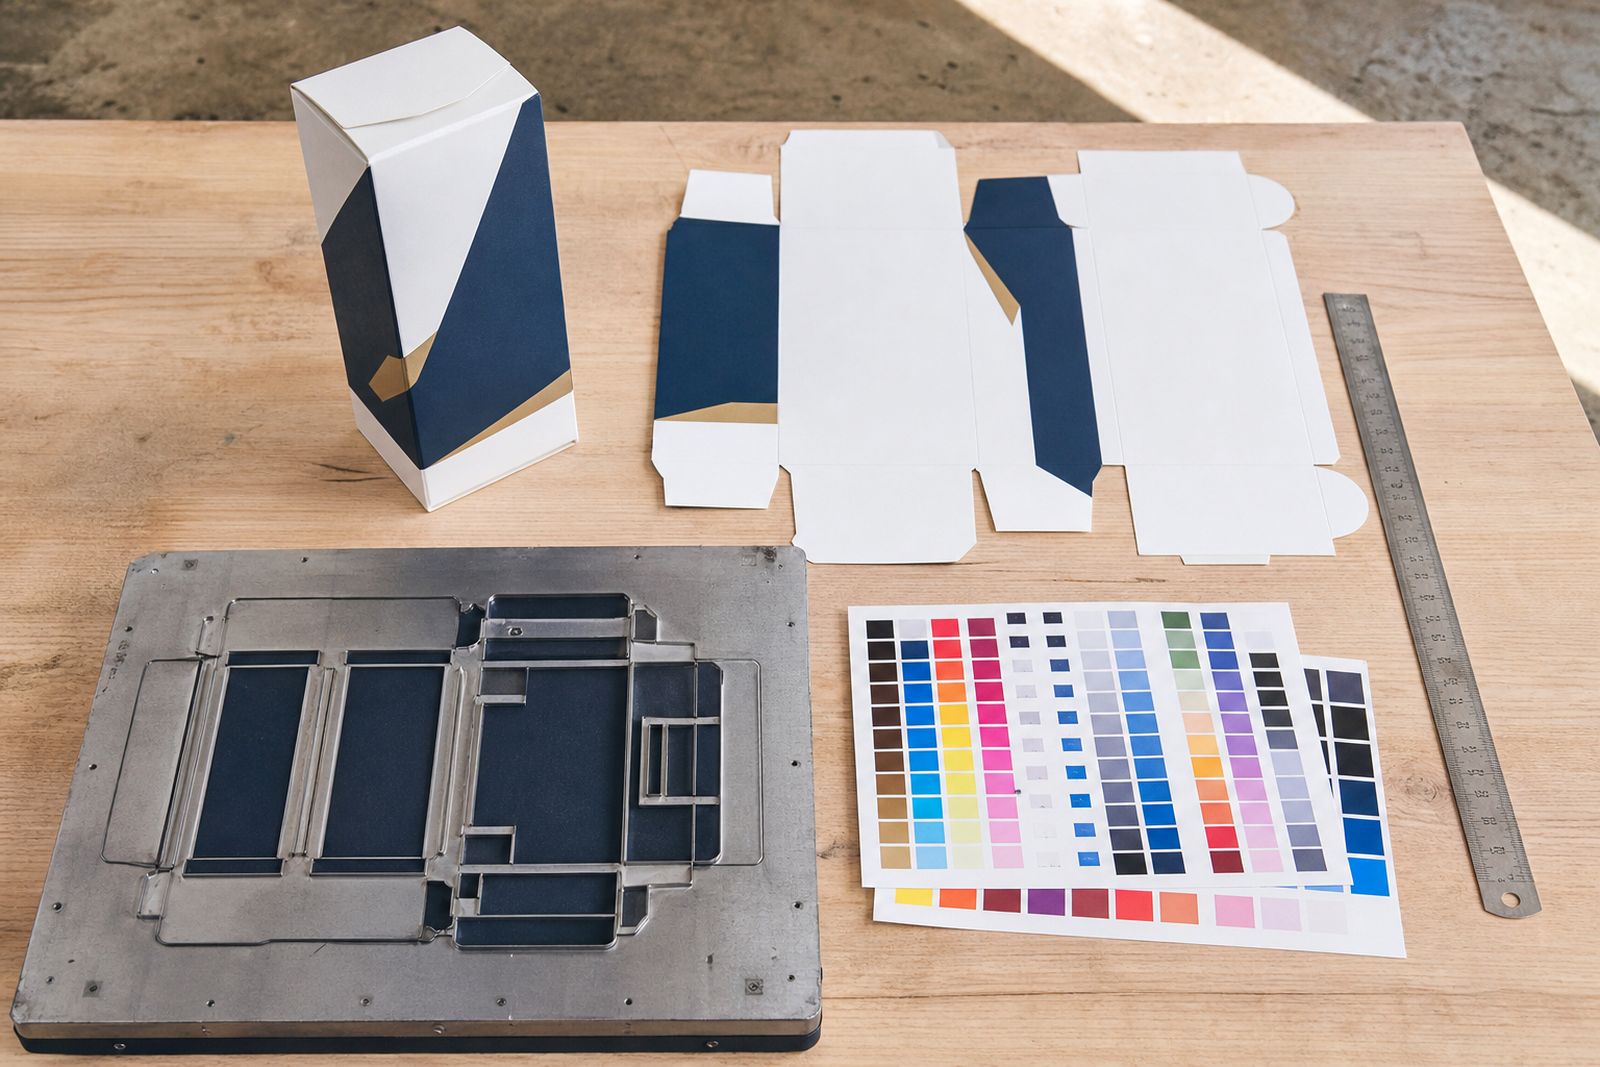
Start with the pack size and packing method
Before any artwork is placed, confirm the finished pack size, board grade and how the carton will be packed, folded and closed. Artwork for a tuck end carton is not laid out the same way as a crash lock base or a glued sleeve, and point of sale packaging often needs extra support panels and locking tabs. If the finished dimensions are guessed too early, text and graphics can land over folds, glue areas or cut lines.
For Durban and wider KwaZulu-Natal clients, this is especially important where packaging may move through warm storage, humid coastal conditions and longer despatch routes. A carton that looks fine on screen can behave differently once it is folded, filled and stacked. Ask for the approved die layout first, then build the artwork to that layout rather than trying to fit the layout around finished art.
- Confirm the finished length, width and depth in millimetres.
- Check the board or substrate being used.
- Identify the closure style, such as tuck, sleeve, crash lock or glued side seam.
- Note whether the pack will be hand packed or filled on a packing line.
- Allow space for barcodes, batch marking or over-labelling if needed.
Work from the correct dieline
The dieline is the map for cutting, creasing and folding. It shows where the board will be cut away, where it will bend and where glue may be applied. Packaging artwork should sit on the final approved dieline and not on a rough drawing from an early discussion. Even a small panel size change can move key content out of position.
Keep the dieline on its own layer and lock it so that it is not shifted by mistake. Cut lines, crease lines, perforations and glue flaps should each be clearly marked and easy to identify. Do not place legal copy, flavour names, product descriptions or logos too close to folds. On short panels this catches many teams out, and it can make a neat layout look cramped once the carton is assembled.
- Use the latest approved dieline file only.
- Keep cut, crease and perforation lines separate from artwork.
- Do not flatten the dieline into the printed design.
- Keep important text away from folds and panel edges.
- Mark non-print areas such as glue flaps clearly.
Set up colour, images and bleed properly
Packaging often combines solid colour areas, small text, product images and fine rules on one carton. Files should therefore be built in the correct print colour mode, with images prepared at suitable resolution for print use and with enough bleed beyond all cut edges. A common problem is artwork supplied with no bleed on one panel, which can leave a white edge after die cutting.
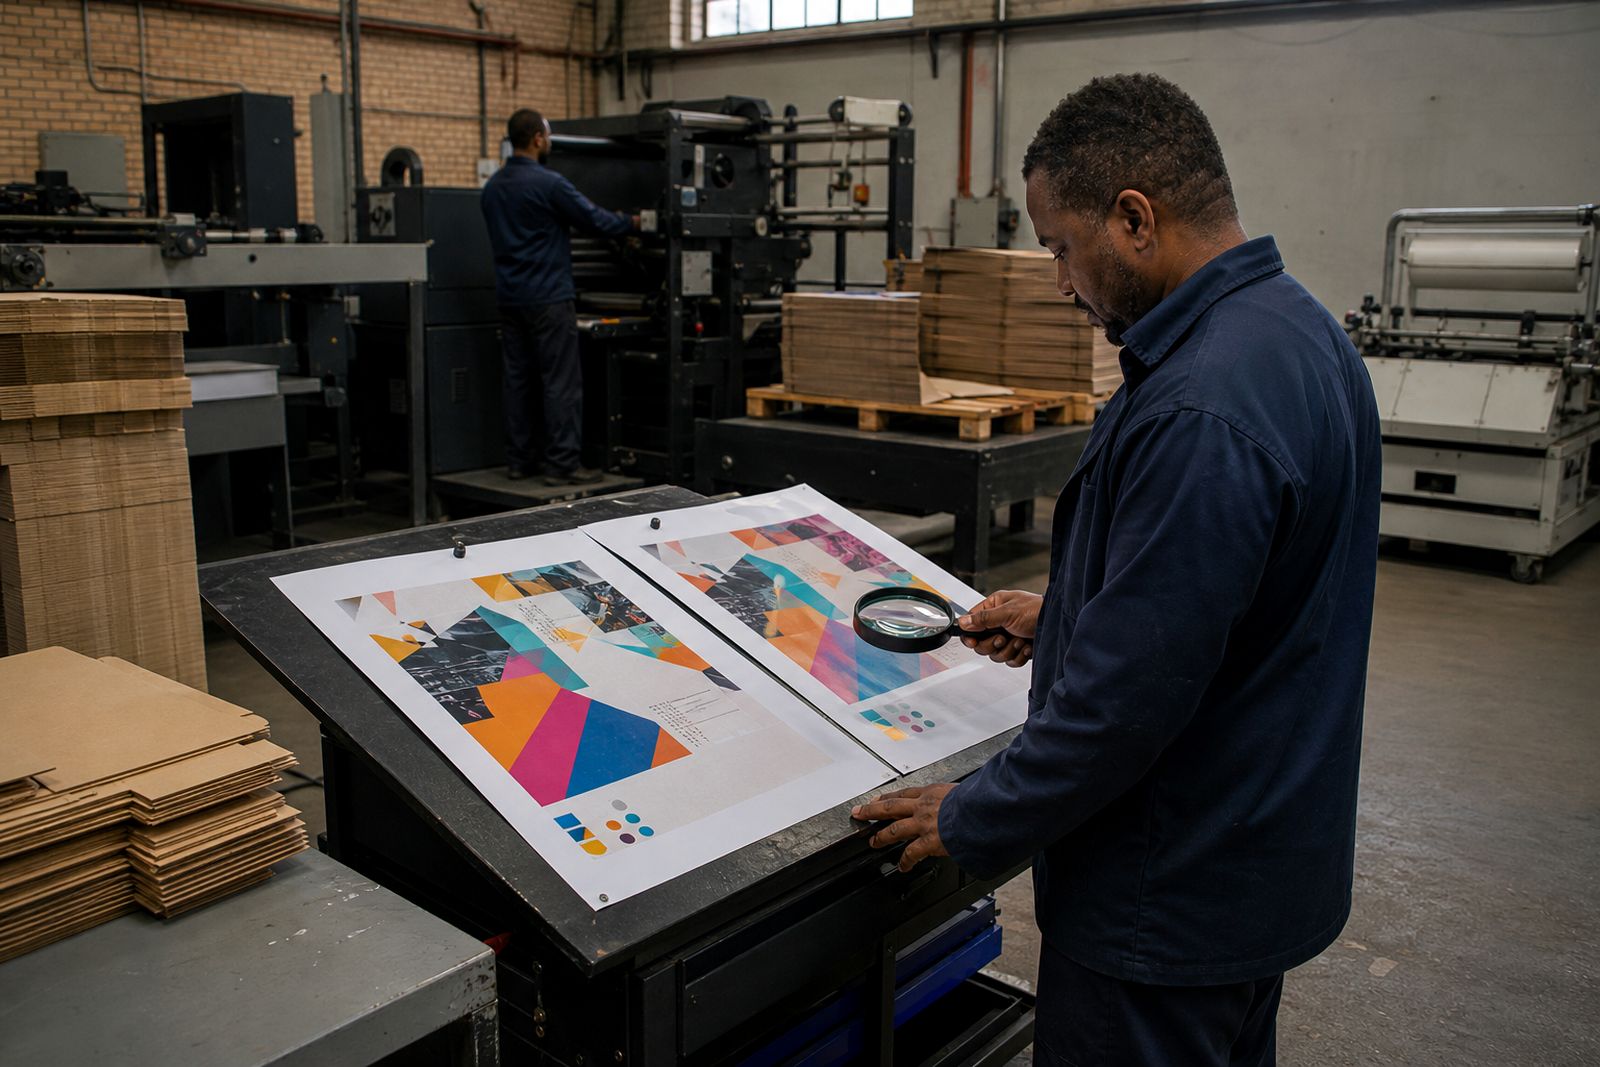
If the job is heading for lithographic, digital or flexographic printing, colour handling may differ slightly, so flag any shades that are critical to the look of the pack. Deep blacks, tints, reverses and small knockout text need checking before approval. If a barcode is included, keep strong colour contrast and avoid placing it over folds, joins or textured backgrounds.
- Add bleed on all outer cut edges.
- Use print-ready image resolution, not web images.
- Convert colours as required for the intended print process.
- Check small reversed text carefully for legibility.
- Keep barcodes flat, clear and high contrast.
Plan copy placement, panels and reading order
On packaging, space is tight. Front, side, back, top and bottom panels all have different jobs, and the order in which the customer sees the pack matters. The front panel usually carries the main selling message, while side and back panels may carry instructions, ingredients, usage details or retail information. Good layout is not only about fitting text in, it is about making the pack easy to read once folded.
Check that text is not crossing a panel break unless that is intentional. Avoid placing key product names over creases or dust flaps. Keep margin space inside each panel so copy does not feel squeezed against cut edges. This is also the stage to confirm orientation, because a top flap printed upside down can delay production even when the artwork itself looks polished on screen.
If multiple pack sizes are being produced, check whether the same layout is being scaled. Simple scaling can cause trouble where one size has less usable panel depth than another, so each carton size should be checked on its own merits.
Prepare files for finishing and packing
Packaging does not stop at print. Die cutting, folding, gluing, bundling and despatch all depend on artwork and job information being clear. If the file includes spot varnish, foil areas, emboss details or windows, each of these should be supplied on clearly named layers. If packs need to be delivered flat in bundles, or packed by variant, note that in the job instructions so the finishing team can prepare correctly.
For national delivery across South Africa, practical labelling and packing information helps a lot. Mixed variants, language versions or regional pack changes should be easy to separate at dispatch. This saves time at the receiving end and reduces the risk of cartons being assembled in the wrong combination.
- Name layers clearly for print and finishing effects.
- Outline or package fonts as agreed for final supply.
- Supply linked images correctly and avoid missing links.
- Indicate bundle quantities or variant sorting if required.
- Include a low resolution visual PDF for reference.
Use a final preflight checklist before approval
A proper preflight check catches most packaging errors before material is committed to print and finishing. This last review should cover dimensions, spelling, colour use, dieline alignment, barcode position, bleed, panel order and any finishing layers. It is also wise to print a paper mock-up at full size and fold it by hand. A simple mock-up often reveals panel clashes, awkward reading order or hidden text that a screen preview misses.
Where packs will be used in retail, events or promotions, also think about how they will be handled in real conditions. Cartons moved between Durban, inland depots and national despatch points may be stacked, wrapped and unpacked several times. A pack that reads well and closes neatly under these everyday conditions usually starts with careful artwork prep not last minute corrections.
- Check final dimensions against the approved dieline.
- Read all copy slowly, including small legal text.
- Confirm bleed, safe areas and barcode placement.
- Review folds, glue areas and panel orientation.
- Approve from a folded mock-up where possible.
If you are unsure whether a file is ready, send it through the enquiry form on our contact page before release to production. A quick check early on can prevent a reprint later.
What our Commercial Printing customers say
Verified Google reviews
Questions we get asked
What file format is best for packaging artwork?
A print-ready PDF is usually the safest final supply format, provided the dieline, bleed, images and finishing layers are set up correctly. In some cases, the working file may also be needed for checking linked artwork and layers.
How much bleed should packaging artwork have?
Bleed depends on the carton layout and print method, but all outer cut edges should have enough extra image or colour area to trim cleanly. If you are unsure, ask for the required bleed when the dieline is issued.
Can the same artwork be used for digital, lithographic and flexographic printing?
Often yes, but it may need adjustment for colour handling, small text, fine detail and trapping. It is best to confirm the intended print process before final approval so the file can be checked properly.
Ask for a quote
Send the print, packaging or branding details, sizes, quantities and delivery town through the contact form, and MGP Services will reply with a quote for the work.
Open the contact form